All posts filed under: Building

Lego Storage

Charlie’s bedroom – Part 2 – The Plywood Wall

Charlie’s room has ended up being a much larger project that originally planned (sorry Pete). The whole design process has been bubbling away in the background for a few months now and am so excited to finally share Part 2. (Part 1 here). This kid’s bedroom is all about the plywood!! There are still plenty of pieces left to go in (carpets and single bed) but it’s the joinery that’s really transformed this room. So let’s get on with the pics shall we? Before After Before | During After I absolutely love it. It’s so mental to see an idea in your head executed so accurately. The guys from Leeds and London based Bare Joinery are mega. Give them a follow, because i’ve been bullying them to set up a proper Instagram account for months and i’m going to look like a right numpty if it’s tumbleweed. The design is a perfect marriage of function and form. I’ve finally reclaimed the living room (and several other parts of the house) and have managed to get all …

Charlie’s Bedroom Re-design – Part 1

What a week! The Interior Design Collective launch completely blew my mind. It seems quite a few of you think it’s a rather good idea. Which is brilliant. View this post on Instagram A post shared by Karen Knox – Making Spaces (@makingspacesnet) Thank you so much again to everyone who sent their best wishes. It was an amazing day. So back to normality again. Whatever that means. I’m cracking on with the next project at home, which is Charlie’s room. Remember me introducing that one a few weeks ago? If not, you can pop over here for a brief catch up. The plan was to build a unit across the whole of the back wall so Charlie’s new single bed could sit right alongside. There wasn’t really anywhere else in the room it could go due to the door swing and the window/radiator situation. After toying with several different ideas about what material to use to build said unit, I had to rule out Valchromat on cost alone. This left us with MDF or …

Valchromat – It’s not just MDF

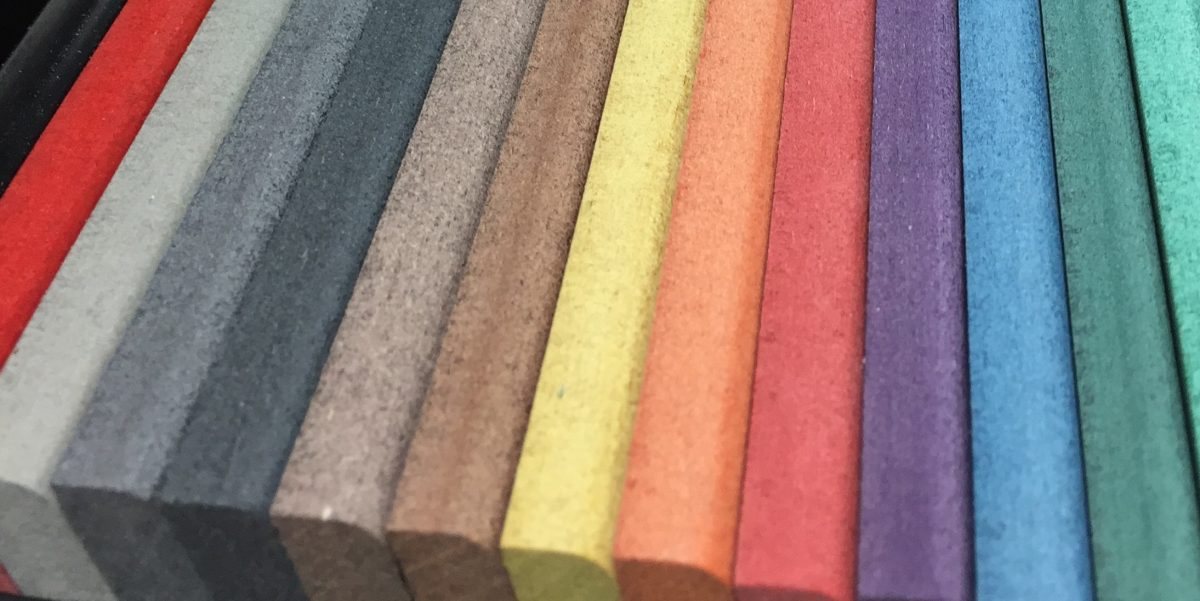
You guys already know all about my love of raw materials. I think half of our interior is made from plywood, OSB and bog standard MDF. Like this: Built in MDF shelves. Left bare, because I liked ’em like that. My dad, (actively) did not. Birch plywood featured heavily in our recent loft conversion. Varnished, bare and stained black. Oh and the poplar plywood floorboards. Don’t forget those. Orientated Strand Board (OSB) has been used in a few projects now too. The first being in my home office, 18 months or so ago where I made my own desk top. Still going strong and getting better with age…. ….and again in a commercial design project where it was used for bespoke wall units, a conference table, standing desk and modular display/room divide. I think it’s fair to say, if I had the choice of having something built from solid oak or walnut, you know, something proper posh and pricey or something from ply, MDF or OSB… i’d go for the underdog. You can make your …

Open plan landing and staircase

Banisters, balustrades and building regs

So where were we? That’s right, we were here. Awaiting new carpets, a banister and handrail. I did not want a banister or a handrail. But the building inspector does. And I guess it’s not that realistic to keep it like this forever. Even though is looks so purty. After mulling over several ideas (metal, glass, A.N. Other, you can check out all of my ideas here on Pinterest) we stuck with what we knew and also what we liked best. Timber. Not just any old timber though. Two 24mm sheets of birch ply laminated to form a 48mm depth board and then ripped into cross sections. These lengths would become our “spindles”. We fixed a timber baton to the ceiling to make sure the top of the spindle, once screwed in, aligned itself vertically so the bottom of the spindle attached perfectly to the side of the staircase stringer. The baton was filled and sanded back several times, then caulked and painted over in emulsion to make it appear part of the plastered ceiling. …

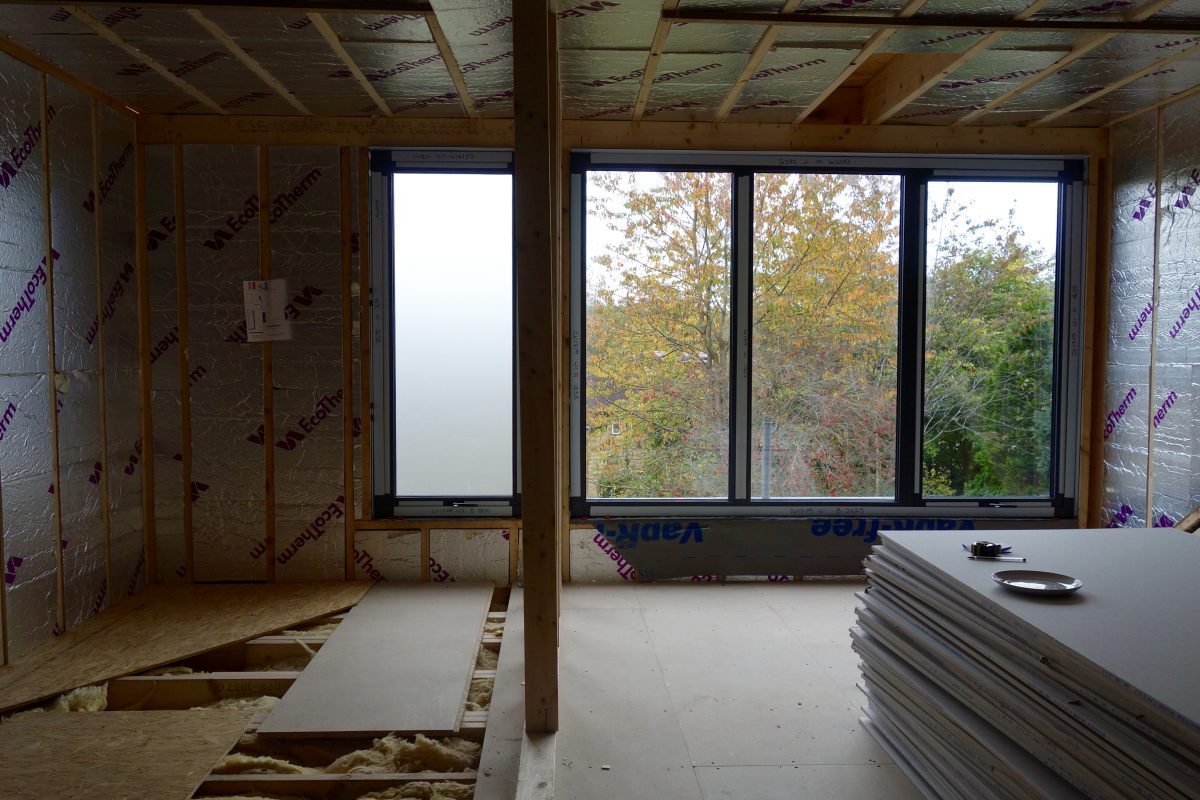
Aluminium windows loft extension

What we’ve learned from doing a loft conversion…

If you hadn’t heard about our loft conversion, you’ve obviously been away from the entire internet since last summer. It’s pretty much all i’ve talked about over here. In fact there are 18 blog posts all about the process. Just click the image below, for a peruse at your leisure. This is a bit of a round up post, looking back at all the stuff we’ve learnt since last year. Thought it might be helpful for those of you out there who have your own projects in mind at home. Here’s what we found out. Loft conversions/extensions take longer than you think. You may have read online that loft extensions/conversions take around six to eight weeks. A-hem. I don’t think so. Ours took nearly four months. Then we had several weeks afterwards where we were finishing off flooring, painting, built in storage. If we’d been told that at the time it was going to be around 15 weeks, we would have dealt with the timescales in a much more rational way, but it seems some building companies tell …

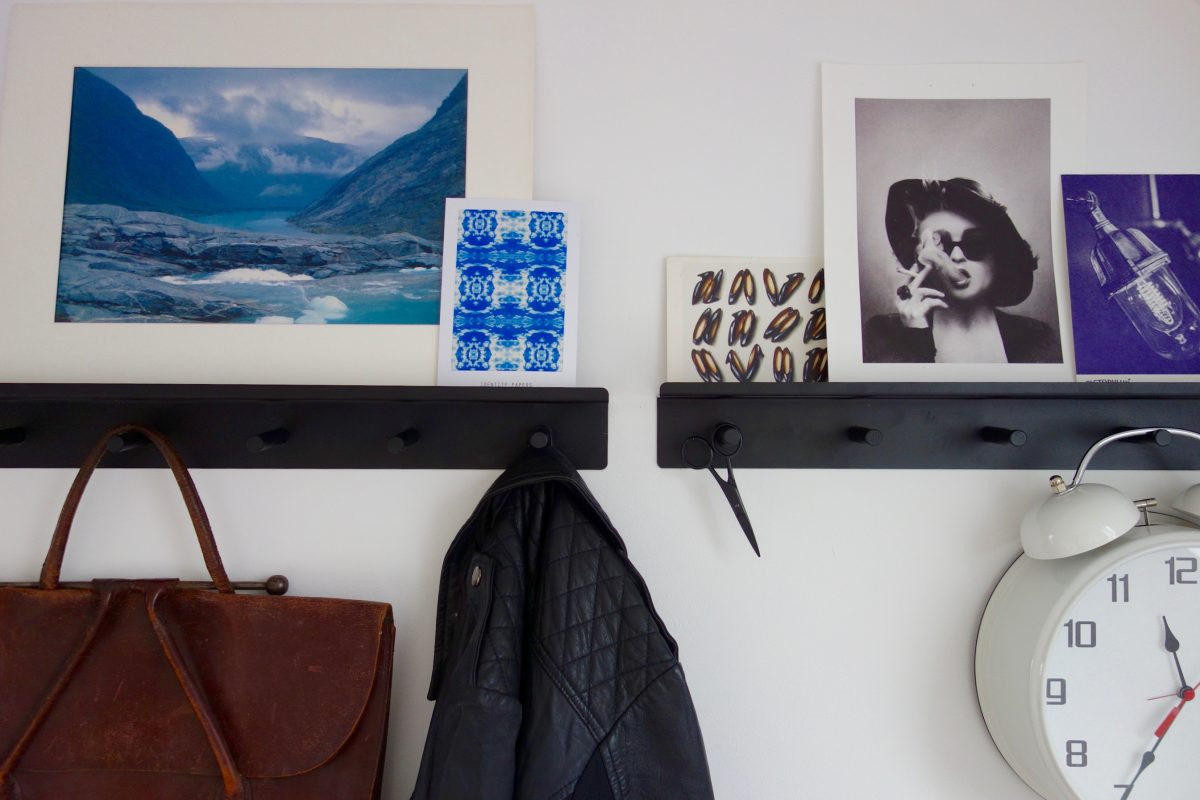
Ikea FALSTERBO Marla Singer

The Loft Landing – Final Reveal

There’s just one space left to reveal now from the loft extension. You guys will have seen the open plan landing/office below with the staircase leading onwards and upwards to our new second floor. Open Plan Office Space But what you may not have worked out just yet is how it all connects together. Designing individual rooms can be tough, but designing rooms and spaces that connect with one another, not just physically but aesthetically, that’s a real challenge. Especially transitional spaces like hallways and landings where walls and levels connect over several floors. How do you make these work? This is the view standing at the bottom of the staircase. Remember i’m in my office here too. The element of shared space which works so well here, the office enhancing the staircase and vice versa. Here is the floor plan of the second floor. I saw the landing as another room in itself. They’re often neglected spaces, quite narrow and can be dark. I didn’t want any of these things to be the case. …

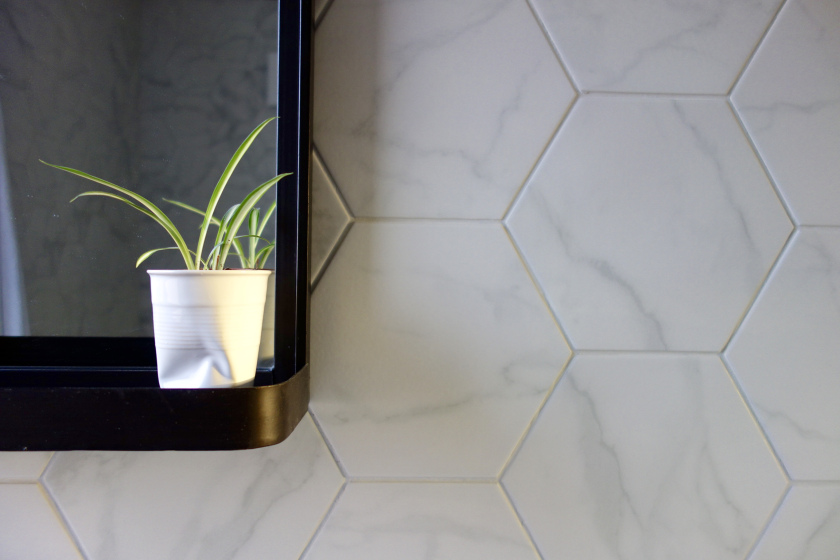
Laurel Marble Hex Tiles

The Loft Bathroom – Final Reveal

It’s here. It’s flipping HERE! Week 20 or something are we now? I dunno, I stopped counting after 17… My ideas for the bathroom are finally up and at ’em and I can’t wait for a sit down and a biscuit. I don’t think i’ve had a day off since September. God, I need a day off. Anywaaaay, here was the vibe I had in mind for the bathroom. Strictly monochrome, in keeping with the loft bedroom. If you haven’t seen that yet, I reckon you should have a quick pop over here so you can see how the two spaces connect. Our new bathroom was going to be 2m x 2m. So, small, but a good size for a second bathroom i’d say. These tiny spaces are certainly not easy to plan at all. And i’ve lost a fair amount of beauty sleep over this space, i’ll tell you that for free. Here’s where we were at the beginning of December. Before And here’s where we are now. After We have a bathroom! I …

The Open Plan Work Space – Final Reveal

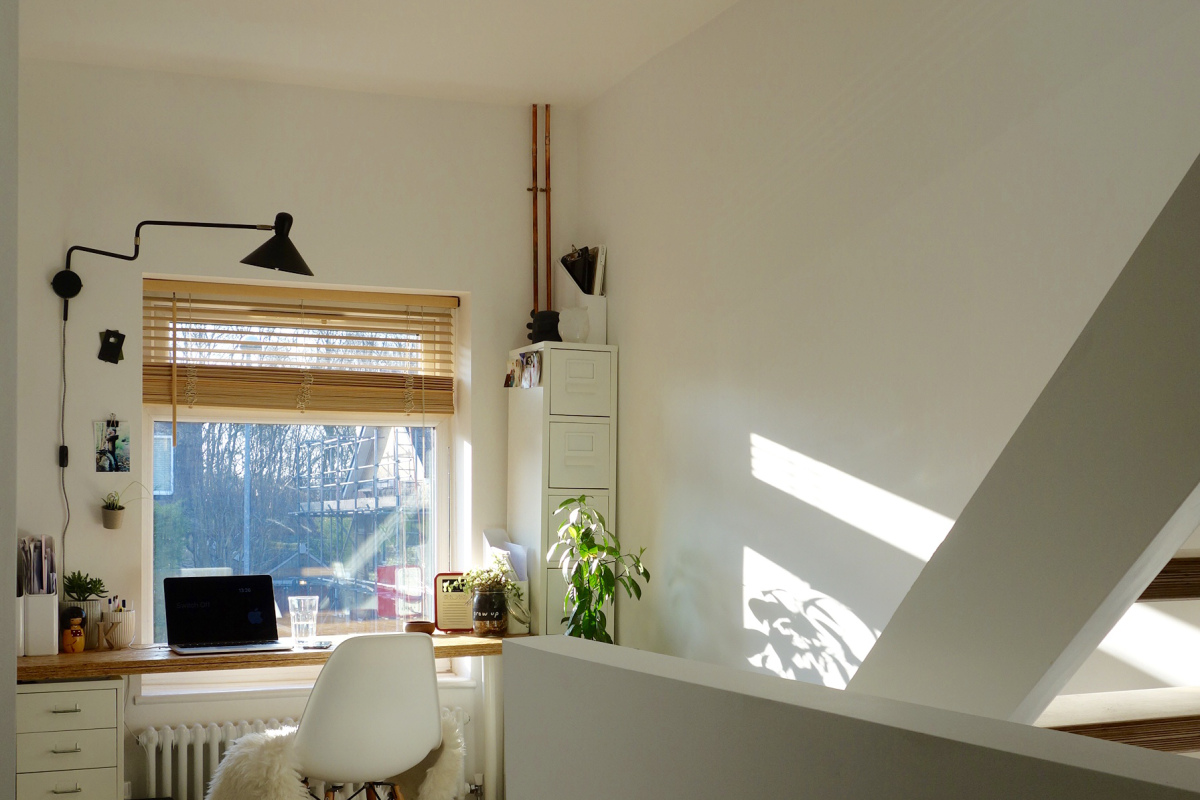
Here it was pre Loft Extension.  In our box room, which was less than 2 x 3m. It was the perfect spot for me to set up Making Spaces HQ. It really wasn’t big enough to be a bedroom. In fact it wasn’t really big enough to warrant its own door, so we took that off over a year ago anyway. Top Tip. If you’ve got a door you never ever close, get rid. Give yourself another square meter of space instead. And a better view. And more natural light. Go on. Our 1960’s, 3 bed-semi had a very traditional layout, pre-build. Our plan was to incorporate the small, box room into the landing area, so it looked something like this: If you’ve been following the build, you may remember we were sacrificing our box room in order to accommodate the staircase of our dreams. You can read more about that over here. The plan was to keep our landing open plan, light, spacious and my office would simply sit exactly where it was before. I do …

Plywood floorboards, ply flooring

The Loft Bedroom – Final Reveal

We did it! We have our new loft bedroom, all done and ready to rock. Four months after we started our build, i’m finally able to share the final reveal photos with you. I’m going to warn you right now, this post is PIC HEAVY. Initially I took about 70 photos. I know. That’s ridiculous. I’ve managed to whittle it down to about 30. Still far too many, but ya know what, just scroll along if any aren’t floating your boat. Here’s where we were back in September 2016: And here was my plan for the bedroom: Ok. So here we go. Do come in… The view from the landing into the bedroom. Gets me every time. Chooch the cat, can not get enough of this room. Mainly because she’s got a load of new rugs and blankets to paw at and ruin. We had to be clever with space here as we were limited with how much width we had with the two chimney stacks bookending each side of the bed. The Factorylux Maria Banjo wall …

The Pre-reveal – The Loft Extension Wk 16

Week 16? Is it? I’ve lost count now to be honest. It feels like we’ve been living in another universe where time as we know it doesn’t exist. We were hoping to be done for Christmas. And we should have been really. Easily. But we weren’t. And it was fine (it wasn’t, but you know what I mean). So the project continues into 2017 and every time I think we might have just one more week left to wait, something crops up. I’m fed up of waiting for the final reveal post now, so i’m going to have to write this Preveal post, just to satisfy myself really. Oh and to keep you guys up to date too I guess. And if i’m being totally honest, to thank all the brands that are working with me for being so patient throughout this whole project. I’ll be giving them a little shout out so you know who they are… First off, some slightly better photos of the staircase. Instead of a landing balustrade, I really wanted boxed in …