
Hello 2020! How are you all? Settling nicely into the new decade? For my first post of 2020 i’m introducing you to a project i’ve been working on since April last year; A four bedroom Victorian terrace in North Leeds.

House floor plan
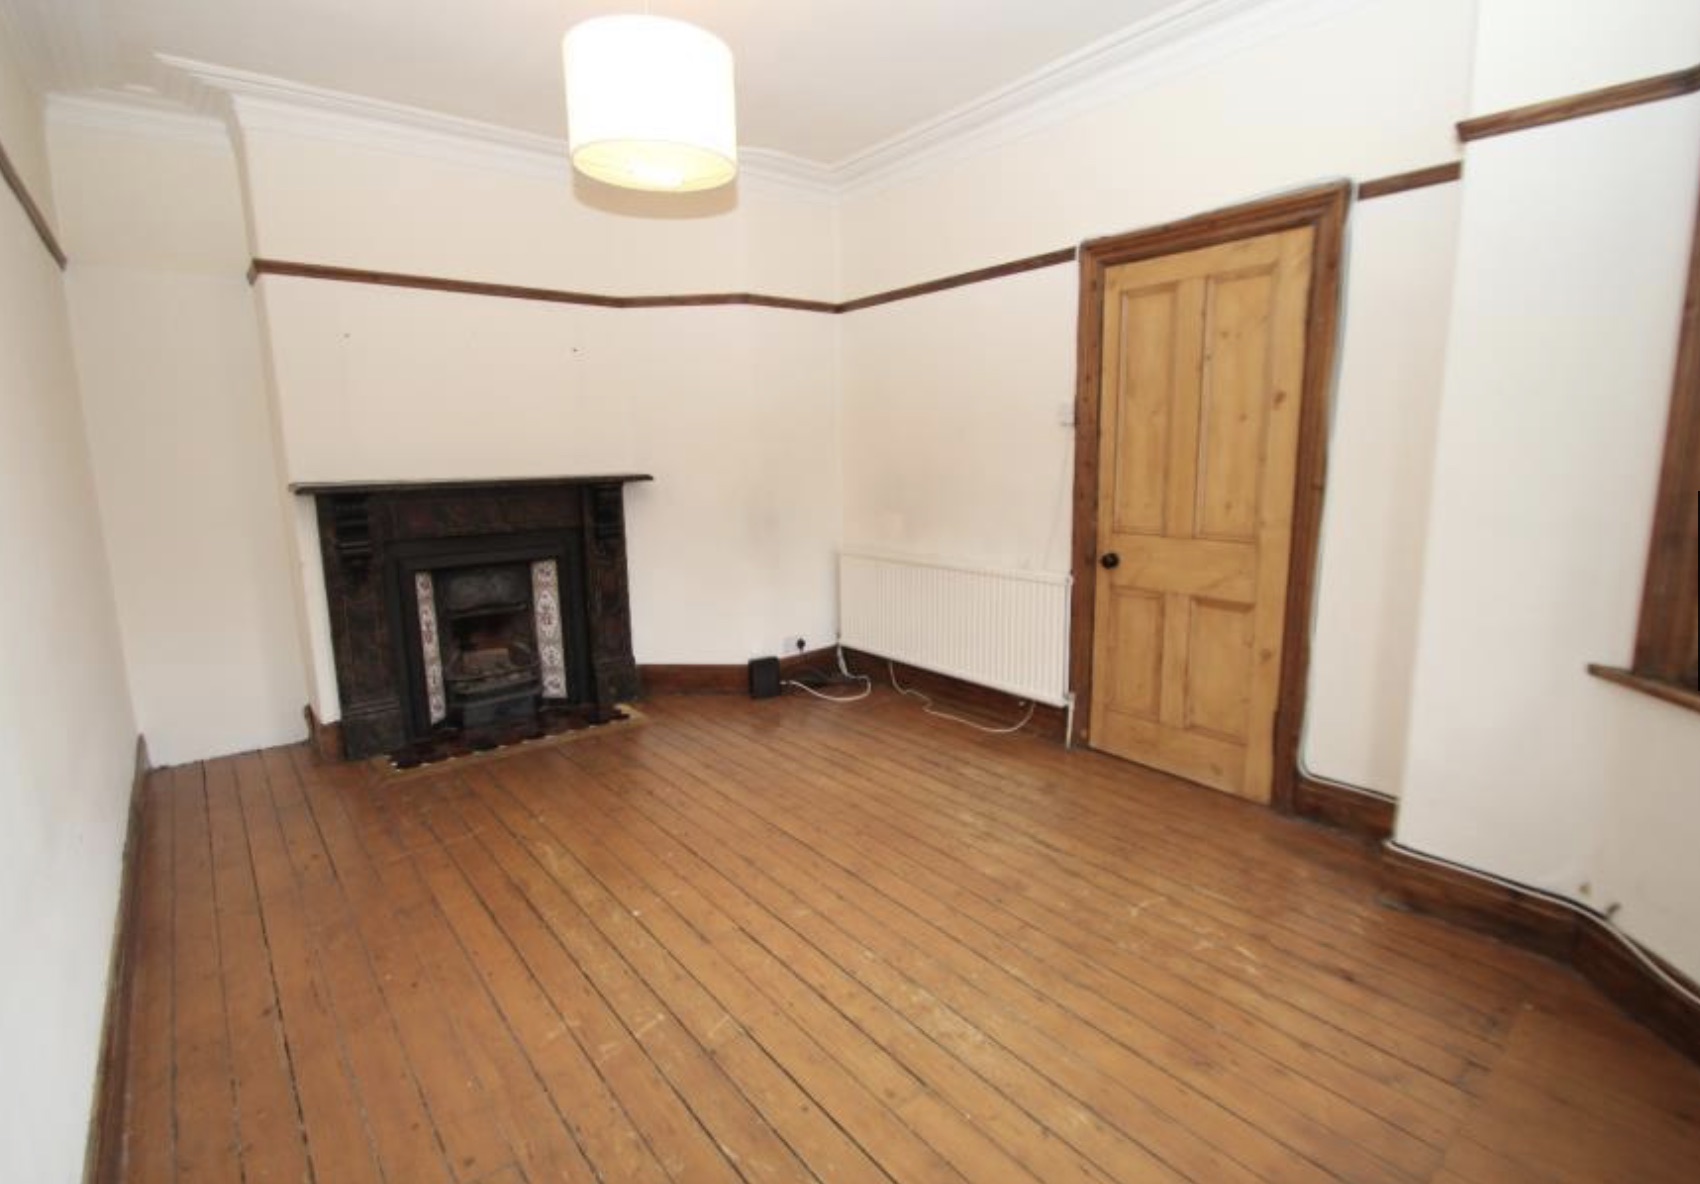
The house was previously a rental property, and so was more than a little unloved. It looked “ok” from the estate agent pics, but in reality it needed a lot of work to bring it back to life:
- New windows throughout
- Re-wiring
- Re-plumbing
- Floorboards refurbed
- Walls stripped and re-skimmed
- New joinery
- New kitchen
- New bathroom
- Complete redecoration
- Fixtures, furniture and furnishings for the whole house
In fact, it was this project that prompted me to write this blog post last spring: A Guide for New Homeowners – Where to start, the dos and don’ts. This new homeowner, let’s call him Mr H, is a complete noob to home ownership. Knowing where to start and what order to work through the renovation across several rooms at once had him in a bit of a pickle.

Today I’m focusing on the living room, which was the first room I started the design process in. I’ll be showing you the plan, some of the progress pics and where we are now.

Suggested Layout
The living room is long and narrow with the entrance door almost central to the longest wall. This made positioning the furniture tricky. Ideally you don’t want the sofa facing a door. It’s doesn’t give the best vibes, but there was literally nowhere else for a 2m+ long sofa to sit. So facing the door it was.

View from the sofa

As the TV needed to be positioned here it meant that radiator needed to go for sure. 1.Because it was totally in the wrong place, 2. Because it was too long for this wall and 3. Because it was f’ugly. The Victorians didn’t need to worry about where radiators or TV cabinets were going of course, they were too busy lighting candles and lacing corsets.

A new high output column radiator was to go underneath the window where a snuggler armchair would sit in front. And at the opposite end of the room, where the existing marble effect surround and gas fire sat, well that was to get ripped out. 1. Because Mr H wasn’t a fan and 2. Because it didn’t work. Fair doos.

So the lot came out in preparation for a new, swanky (and very cool) gas stove.

After getting a peek at some of the brickwork, Mr H, being a big brick fan wanted to expose the whole of this wall. And so it was done.

During – bit dusty in ‘ere
Now we knew where everything was going and the new windows were fitted, we could tackle first fix electrics and plumbing. Basically plan out where all the switches, sockets and heating was going. Of course all of this needed to be set before we could get on with any plastering.

Here is the room freshly skimmed, with the bricks exposed, repointed and sealed. And don’t they look lovely? For those wondering what we used to seal them, it was the same sealant we used on our own brick wall in our loft extension. It allows the wall to breath still and our bricks still looks as good as the day it was sealed, over three years ago.

Here you can see the new UPVC, double glazed sash windows with updated architraves, new skirting boards fitted above the freshly sanded and stained floorboards, new sockets and switches positioned and pipework all set for the new radiator. Soooo much of the work on a renovation is invisible (just like Mr H’s head), it’s never ever just about painting walls.

There’s still a stone hearth and stove to be fitted here very soon, but after months of work, this room was finally taking shape.

December 2019 – and now we’re ready for decorating!
So let’s talk about the design-y stuff shall we?
Mr H moved into this place with little-to-no furniture, so taking inspiration from existing pieces or other completed rooms around the house was difficult. As an alternative, I’ve had to play a long game of: “Do you like this?”

What I have learned about Mr H is that he likes… well to be honest, I’m still not entirely sure. Most of the time, I’m able to get inside my client’s head and work out what is going to float their boat. I see things, randomly, all the time when I’m out and about or online that either current or previous clients would love, so am often sending links or Pinning pieces for them. With Mr H, this journey has been a little different. He’s not really sure what he likes, but he’s not shy in telling me what he doesn’t like.
There has been a lot of trial and error to get a room scheme together that A. Is cohesive, B. Makes Mr H happy and C. Keeps me engaged with the design process. In fact this sentence reminds me of a post I wrote a few years ago: Equations and Balance, worth a read if you’d like more of an insight about the design process and the importance of working with the right designer.
I’ve had to work very hard to get certain pieces in the room, pieces I know will work together, but there has been resistance. For example, for a living room, I tend to have around 60 items Pinned for people to choose from. Several examples of sofas, rugs, lighting, etc. For this living room I have Pinned 157 items. So in terms of product research, this room has been heavy duty.

All I can really say now about Mr H, after 9 months of working together, is that he likes:
- Blue
- Lions
- Grey
- Brass
- Bricks
- Dark wood
- Squares and cubes
- Plants and books
- Maps, sport, camper vans, Hip Hop, travel and chess
- Waterfall taps (no, you’re still not having one in the bathroom)
And doesn’t like:
- Anything with more than two colours
- Stripes
- Ornate or fiddly patterns (unless it’s Dachshund bedding. I’ll leave that for another time)
- Any table that looks untrustworthy (looks like it would fall over)
Originally, I drew up separate wall elevations for the living room design, but as there were quite a few (bloody loads) of revisions, I shoved it all onto a rough mood board instead.

Rough Concept / Moodboard
Here are some of the pieces that finally made the cut:
- Indra Rug 2.44×3.05m – Westelm
- Esse G525 Gas Stove
- Wooden Shutters (still to be sourced but will be writing up on those when we sort!)
- Holly Snuggler Armchair – Sofa.com
- Large Bamboo Pendant Light – Homelava
- Stockholm Coffee Table – Ikea
- Chicago Tripod Floorlamp – MADE.COM
- Walls and woodwork in Benjamin Moore’s ‘Spellbound’, a smokey blue with grey undertones
- Ceiling and cornicing in Benjamin Moore’s ‘Bunny Gray’
- Ikea Kivik Sofa

Let’s talk about the sofa. The main issue was finding a sofa that would fit through the front door and be able to get through to the living room. The hallway is narrow meaning there was barely and room to manoeuvre a long, wide piece of furniture.

We needed flat pack. Not ideal admittedly as that meant someone needed to build it in situ, but by having it delivered in two boxes meant at least we knew it was going to get into the room it was intended for. Always a bonus I find. That you can get the actual furniture into the room. Bit of a waste otherwise. The Ikea Kivik came flat packed and is ridiculously good value starting at £425 for a three seater in the light grey cover.

To prevent it from looking like an Ikea sofa however, I specified a Bemz Pure Washed Linen Rosendal cover in comfort fit, giving a looser, softer, more Scandi vibe to what is a very square, hard lined sofa. The cover was more expensive than the actual sofa itself at £729, but we did manage to save 25% by ordering on Black Friday, so it came in at £546. The fabric is just stunning and comes pre-shrunk making popping it in the washing machine for cleaning a breeze.
There is still lots to do in this room, the snuggler chair to arrive, side tables, lighting, heating to finally go in, shutters to order, artwork to hang along with a good ole styling session. So I’ll go into more details about the rest of the space in the final reveal post for this room. Which should be around spring time – hopefully! But for now I’m just going to pop a few close up shots of some of the completed details.

Exposed brick, moody blue walls, bespoke shelving and huge bamboo pendant light. It was important for me to add texture and softer shapes where I could, so this pendant light was pretty key in softening the room against all the hard and square edges.

The Chicago Floorlamp from MADE.COM looking gorgeous in front of that blue.
And if you’re wondering who ended up building the sofa in the end, it was Mr H and myself. It was pretty easy to put together. What made it take a little longer than expected was the fact we’d already built it and bolted everything together before we realised we needed to unbuild it to put Bemz linen cover on. Nothing like completely undoing all of your hard work at the end of a five hour site visit. Really glad I went the extra mile and really tightened up those nuts, two minutes before I had to take em all out again **sigh**.
So there you have it, another project that’s been simmering away for a while now. I’ll be back again soon with more rooms, in the meantime, enjoy the rest of your weekend peeps!