
We’ve uhmmed and ahhed about what to do with the loft bedroom flooring for ages now.

As i’m going all out Scandinavian for the bedroom design, a blonde wood floor seemed the obvious choice. But then, to save some money and get this room finished in time for Christmas, we played around with the idea of simply painting the chipboard subfloor black (to which the builder just sighed and shook his head).
After going around in circles for several weeks, mentally noting the pros and cons of both options, we finally decided on floor boards. Done.
Having an actual floor laid meant I finally got to work with my fave joiners again, Bare Joinery. Which is always a pleasure, as they’re always up for a challenge and happy(ish) to experiment with materials, the design, the process, and most importantly, they don’t sigh and shake their heads at my less than conventional ideas. Not within view anyway.
Our plan to lay floorboards sounds pretty standard, apart from the fact I didn’t want them to be actual floorboards, as in, boards specifically made for floors. We wanted to continue the plywood vibe, carrying it on from the staircase into oversized boards made from ply which would run from the new landing area and into the bedroom.
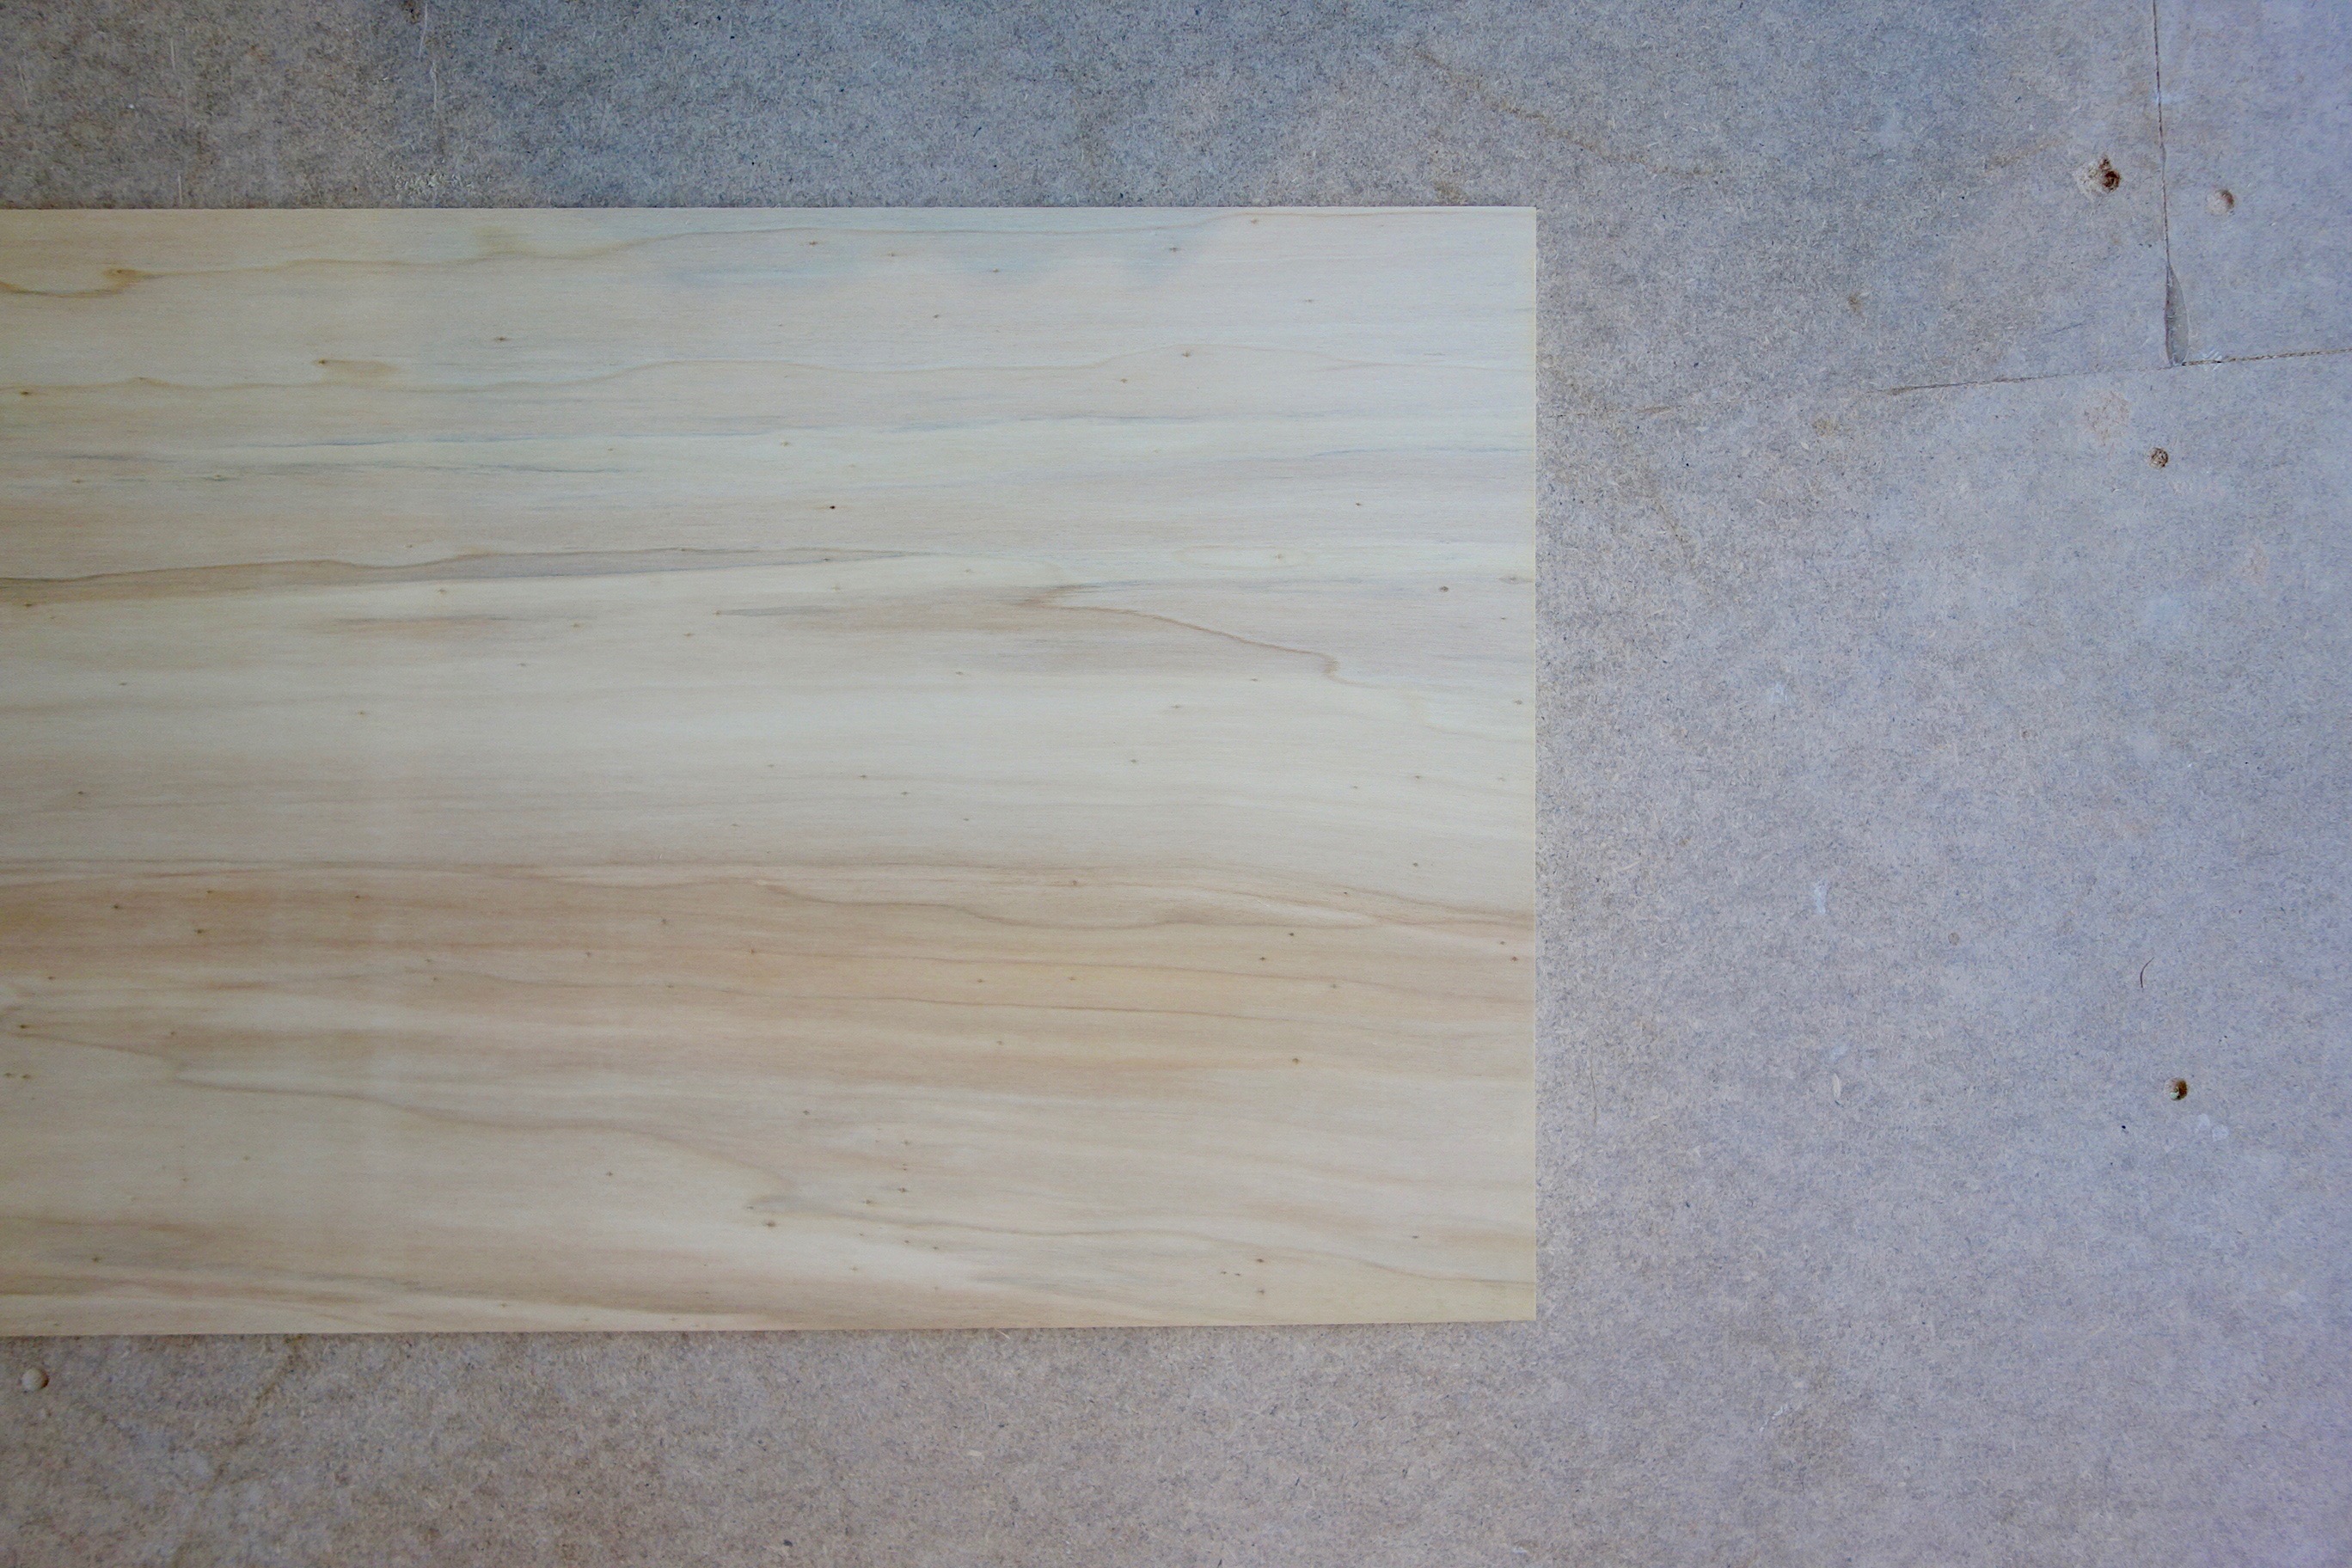
After doing some research into plywoods and the grades they came in, the husband visited several timber yards where he struck lucky at Arnold Lavers where we finally settled on 13 sheets of their 6mm Poplar plywood. The woodgrain was all kinds of heavenly.
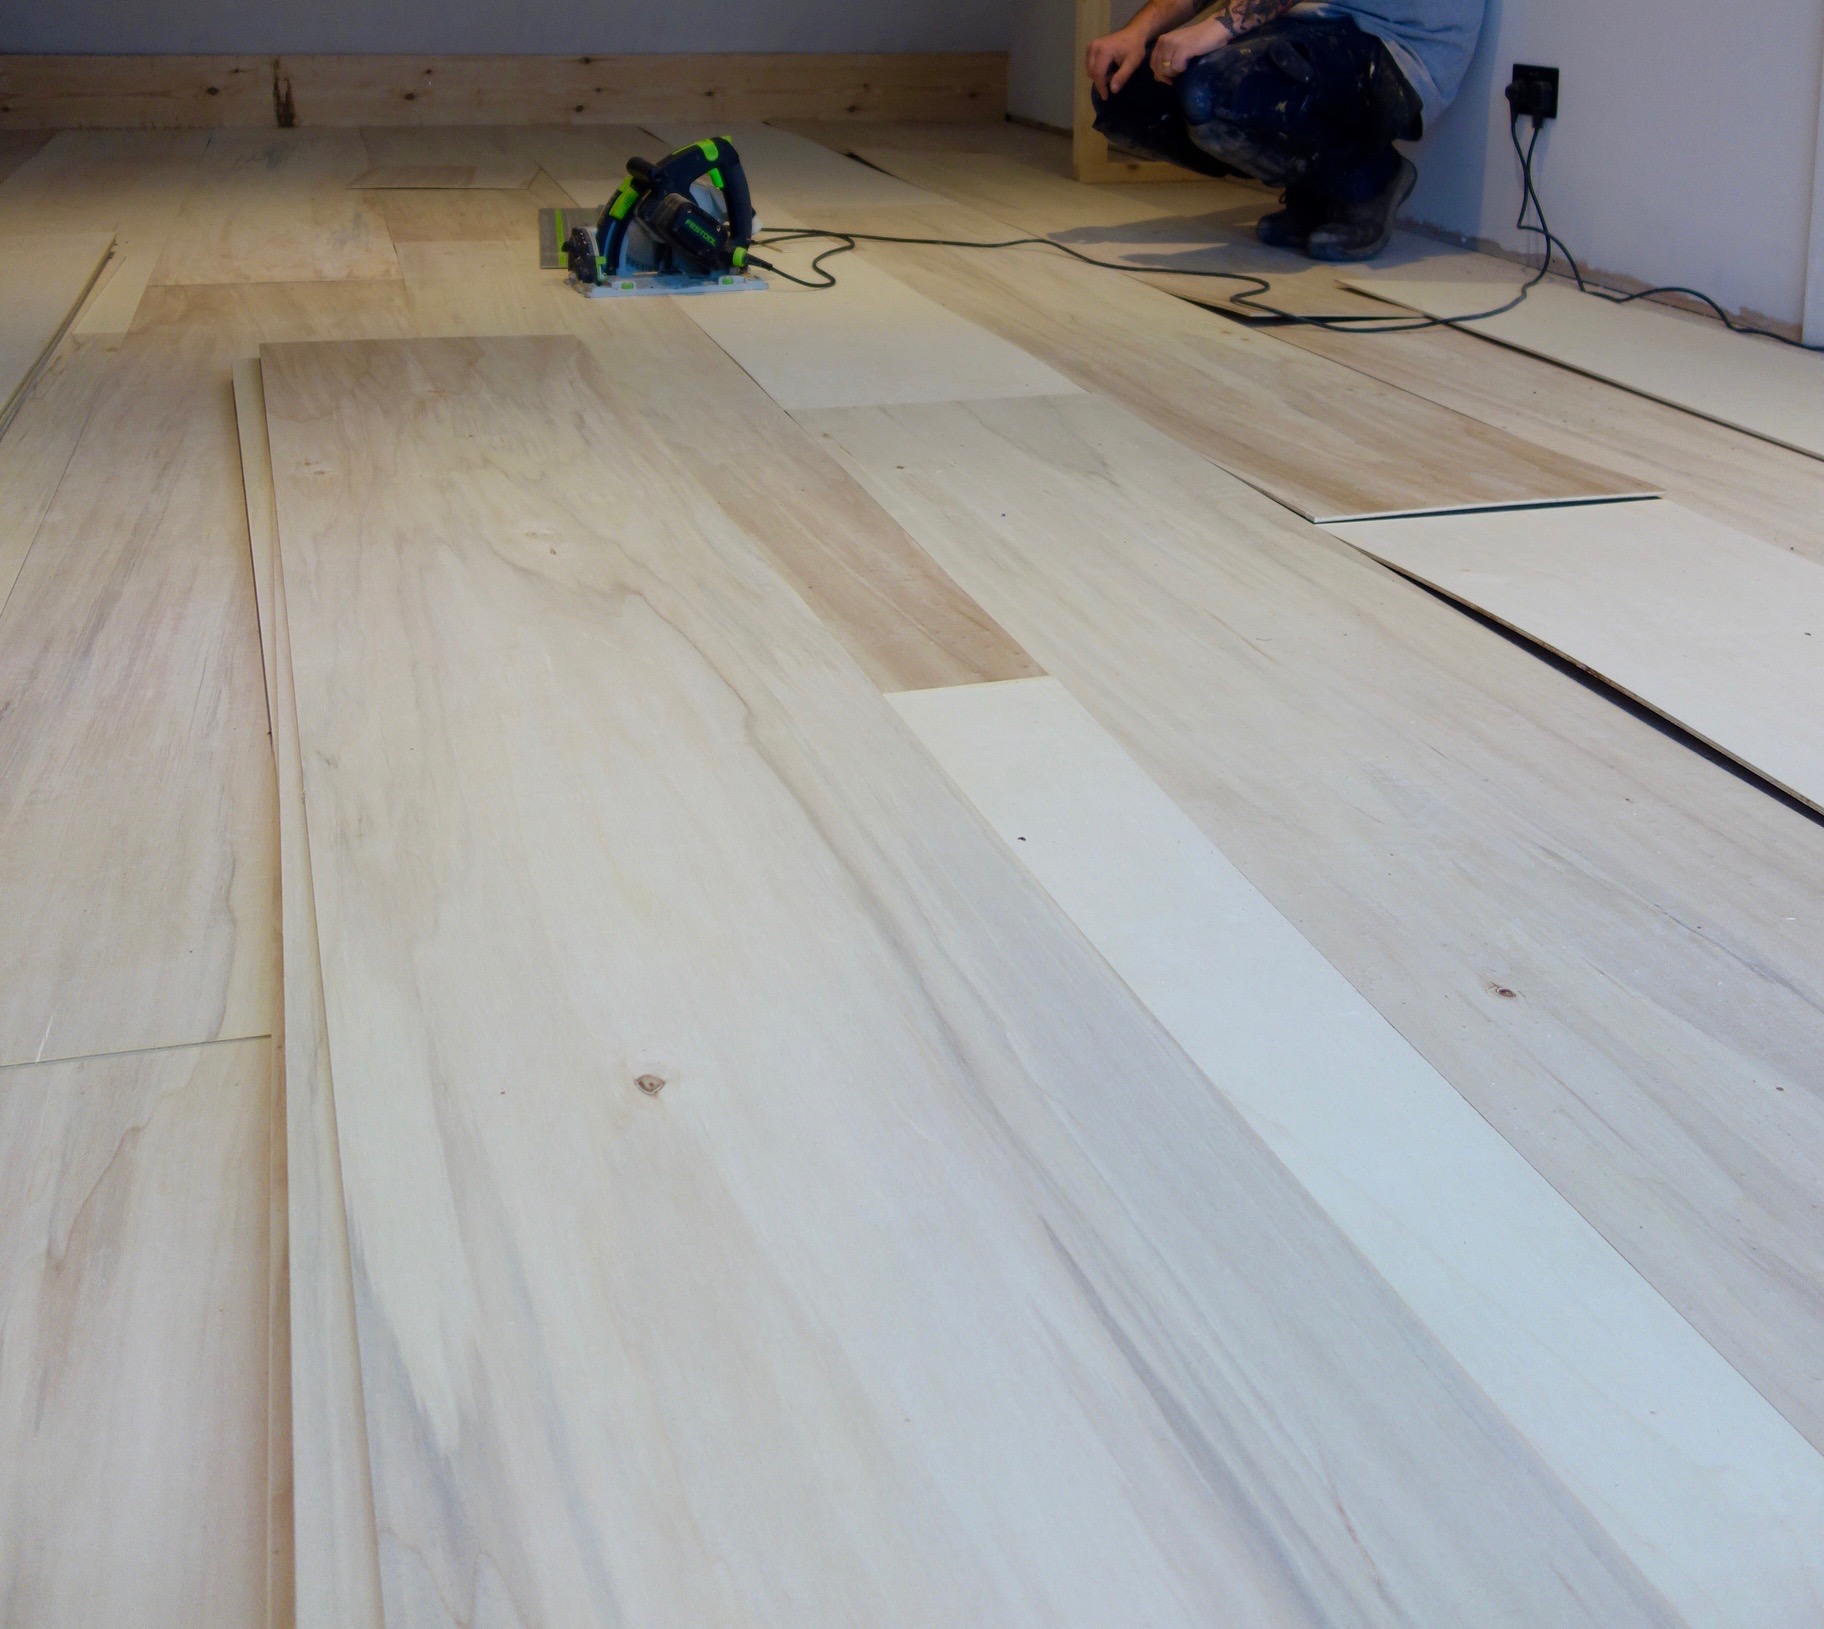
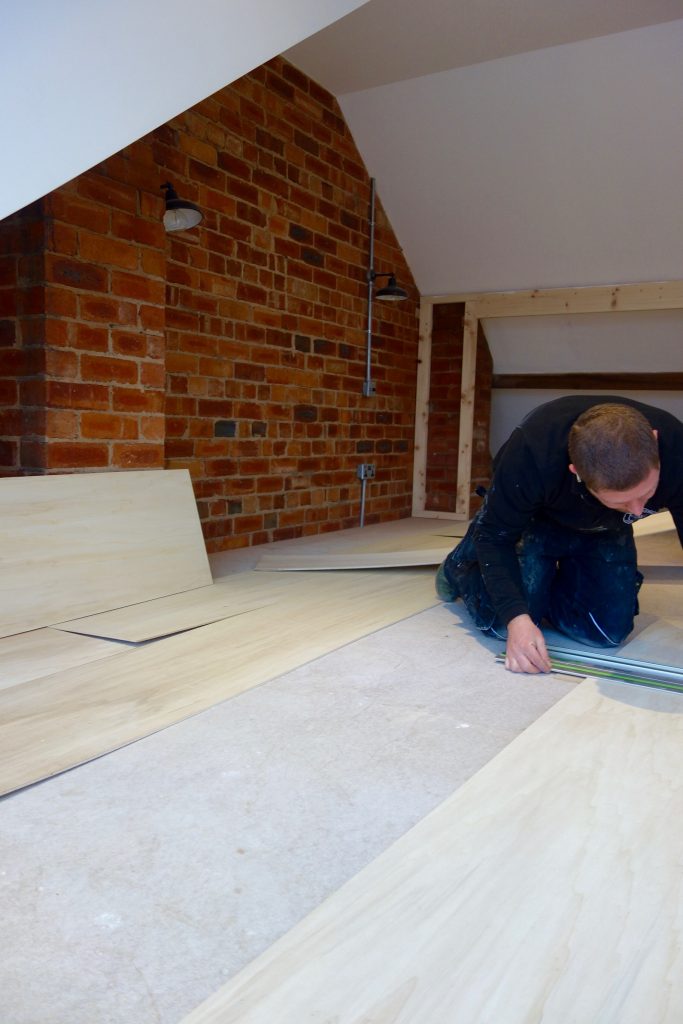
My joiners handpicked the best boards for the job, each one being cut into three equal sheets of 40cm x 250cm. After loading them onto their van and bringing the freshly cut sheets here, we started playing with the layout, mixing some of the blonder more uniform boards in with other boards with more grain, colour variation and markings.

Once the layout was set and boards cut and scribed exactly to size, they were adhered directly onto the subfloor, just like tiles I guess, then, left to dry before the floor sanded completely smooth. Finally, the entire room was hoovered and cleaned to get rid of all the dust in preparation for its first coat of polyurethane seal.
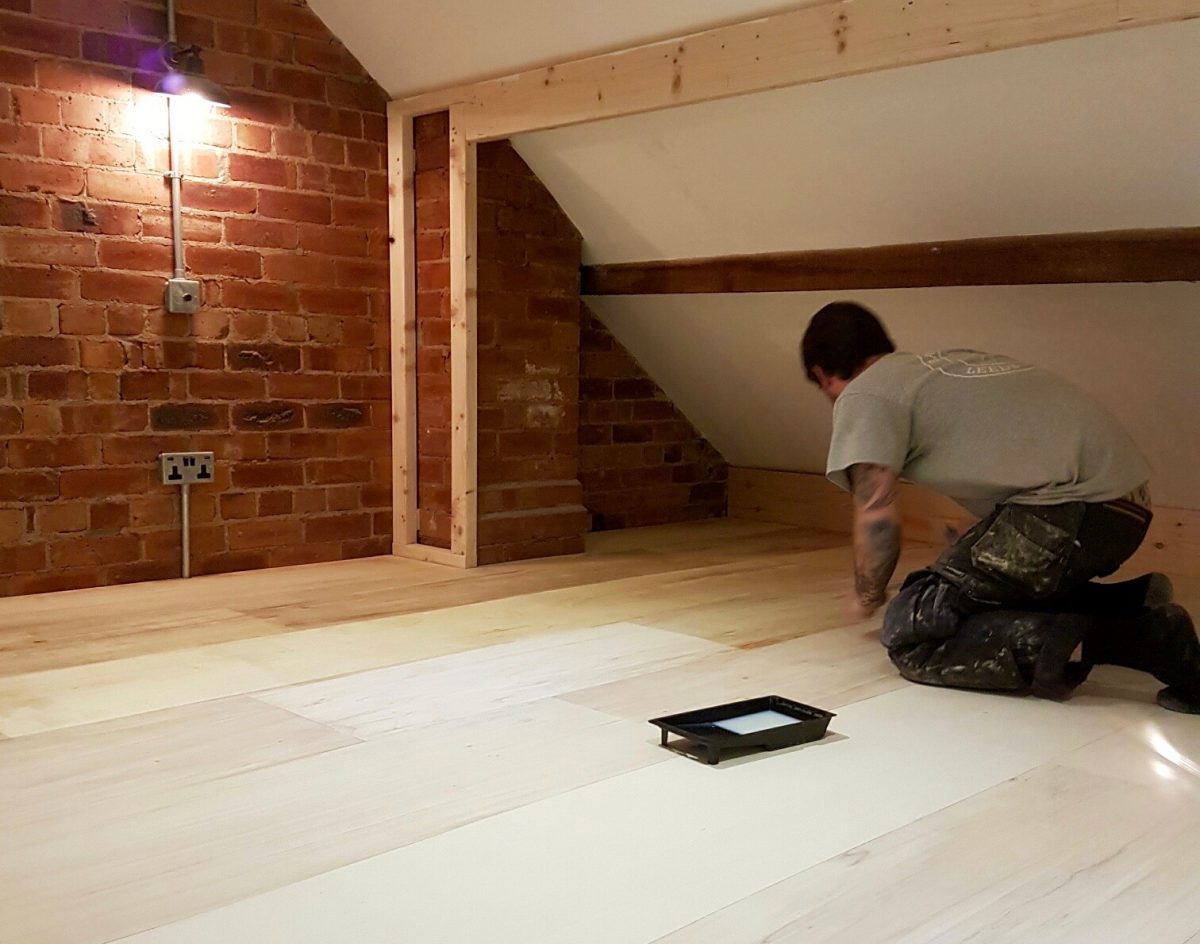
This was applied with a velvet flock mini roller for a super even, bubble-free finish and left to dry for 24 hours.
The following day, the hubster gave the floor another very light hand sand with 240 grit paper, followed by a good hoover and wipe with a damp cloth to pick up any specs of dust before its second and final coat of sealer. This was left to dry for another 24 hours.

And here it is, touch dry after its second coat.
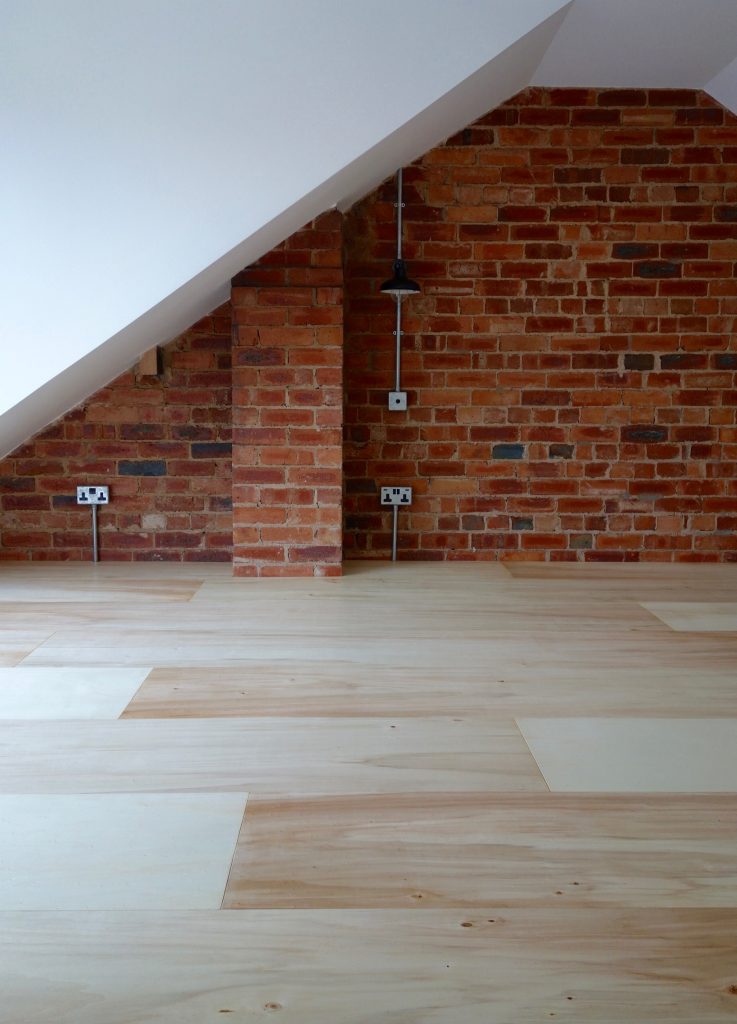
Our 2.5m long x 40cm wide, 6mm poplar plywood boards in all their glory. Seems a shame to put the rug down now doesn’t it?
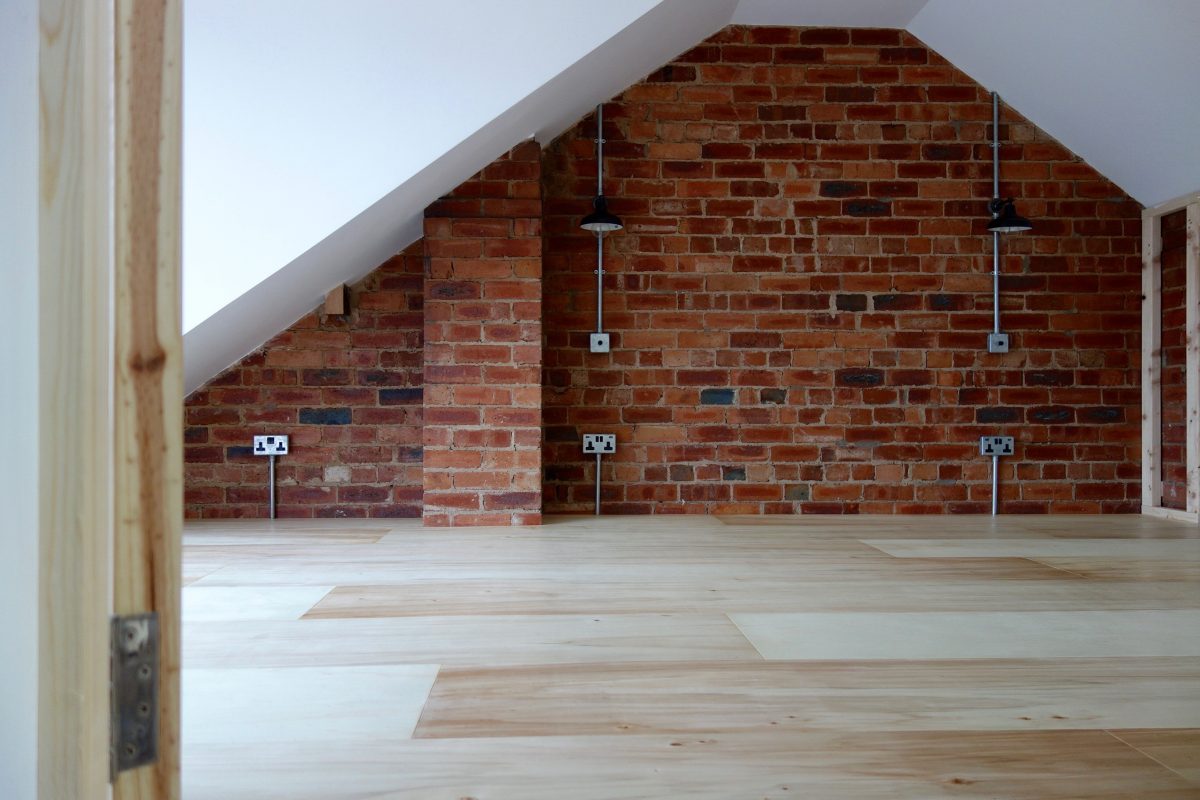
The room is starting to look just as i’d imagined it months ago. Exposed brick, white walls, our conduit lighting and now the blonde, wide plank floor boards. So so satisfying. Next time you see this space I reckon it will be in 2017 for the final reveal. And I caaaaan’t wait.
Would love to hear what you think. Do you guys like what we’ve done? I’m really interested to see how they fare as an alternative floor covering. Am already planning on writing a review post in about a year’s time. Only time will tell I guess…
Wow!!! I love it, and i never would gave thought to ise plywood as a floor like that. I love that you can get the wide board look, and mix it up the way you did. I’ll be curious to hear how itholds up- but it really the finish that has to hold up, isnt it?
Yes I guess so. I’d quite like to do a third coat of sealer which (we may end up doing if I get my way). Glad you like it though. I think our massive rug will defo help with the longevity!
How did this floor hold up to traffic?
https://blog.making-spaces.net/2018/03/19/the-plywood-floor-15-months-on/
I think it looks great and I love the wide board look too. Glad you’ve had a good experience with joiners – am going to get a cabinet or two made up I think which is something I’ve never done before. Got to be better to be a bit different right? You must be so happy to be so close to finishing! Nice job!
Thanks Jill. If you’ve found a good joiner, definitely worth getting something bespoke done. Good luck with your cabinets!!
Ooh that’s really nice, Karen! Good call. I’m loving seeing this space take shape and so excited for you!! X
They look so great! I love how wide they are, particularly. Would you mind giving us a ballpark figure for how much you paid all-in?
Becky ⋮ a c c o o o h t r e m e n t s . w o r d p r e s s . c o m
It’s hard to say as we got spent £500 on all the Poplar plywood boards for the bedroom floor, landing and also three large Birch ply boards for something else you guys will see soon. Then there was floor adhesive, the sealer and labour. I think we worked out it was about £25 per sq/m for the flooring plus labour to lay them. Ish…
I REALLY like it. I love that it’s almost got “highlights” in the blonde too. So happy that it’s all pieceing together hun! x
Hello, just wondering how you sanded the floor down. Did you do it by hand? We have large sheets of plywood as our flooring atm, which was just put down until we could afford a proper floor but actually I love it and then found you when I was searching for how a ply floor might work. Thanks, Casey
It’s looking so so good.
Looks amazing! Looking forward to the one year follow up as well!
What a fabulous floor! A really lovely result. Hope you feel happy with it 🙂 x Lotte
I love the wide floor and the shades are fab. We too are uhm’ing and ah’ing for what to do with the floor for our extension (yet to start), debating whether to do chipboard or wb ply, but I hadn’t thought of plywood over chipboard. Would be great to hear how it holds up.
Yeah I’ll definitely be doing a post about the flooring in a year. Keeping my fingers crossed!
This looks great! I am going to be putting a ply floor in our kitchen/dining room soon. The only difference possibly being its going onto concrete.Using offset whole sheets instead of cutting them down.
The main thing I am concerned about is how to secure it…adhesive sounds good but we might need an intermediate layer of ‘underlay’ (roll of foam) which creates a problem! Screws/nails might then create an uneven surface….anyone have any thoughts?
We adhered it on top of a chipboard subfloor. The subfloor which was screwed down with countersunk holes so there was a smooth flat floor to lay the plywood onto. The adhesive has kept everything in place too. With some very tiny pins gunned into the tricky corners and any stubborn edges. Absolutely no movement now at all.
You only used glue to install the plywood floor boards? I have seen different tutorials that also nail it, but if the glue works by itself that it great. I have been thinking of doing this. The poplar wood looks wonderful.
Yep, something called Bona R848. They did use a couple of tiny nails with a pin gun to keep the boards flat where they were curling up, but on the whole the adhesive worked all by itself. Glad you like it!
Thanks Karen for the reply.
We’re hoping to copy your floor idea and were wondering how it has held up after a year. Did you find you needed to re-stick any of the boards? Also curious what sealant was used for the finish on yours. Looks great!
Hi Steph, it’s faired really well. No boards popping up at all. We’ve not had to touch anything since it was laid. The sealant was a water based one, will have to go back through my old photos and find the exact make, but it was one bought by my joiners, so would have been a trade favourite, none of the brands you’d have heard of. Will look it out and get back asap!
ooh, very interested to hear what varnish was used. Always good to know which can stand the test of time. Do let us know. J
Hi Joe,
More info here 🙂
https://blog.making-spaces.net/2018/03/19/the-plywood-floor-15-months-on/
Hi Steph, here’s the update for you: https://blog.making-spaces.net/2018/03/19/the-plywood-floor-15-months-on/
Amazing floor , and an great choice of timber. I always thought the grain on poplar was too wide for furniture. On a floor it looks incredible.
If you can, could you tell me whether you had gaps between the boards or if they were flush against each other?
Thanks!
Mike
Hi Mike, glad you like it 🙂 The boards were fitted flush. Here’s another post about how it’s fared 15 months later with more info and pics https://blog.making-spaces.net/2018/03/19/the-plywood-floor-15-months-on/
Thanks for the answer, thats a great help.
Last question- your subfloor was chipboard that you adhered to wasn’t it?
Cheers
Mike
Yup!
¡Qué buenísimos idea y resultados, me afirma en la intención que tengo de poner OSB (Tableros De Virutas Orientadas) sobre las tablas del desván de mi casa del pueblo!.
¡Gracias por compartir Karen, Internet es una hermosa herramienta!